Step-by-Step Guide to Setting Up Your Mini PC or NUC
Mini PCs and NUCs (Next Unit of Computing) have transformed the computing landscape, offering powerful performance in compact form factors. Whether you are using one for home entertainment, office productivity, or industrial applications, proper setup is essential to unlock their full potential.
YENTEK, a high-tech enterprise specializing in the research, development, production, sales, and service of industrial computing products, provides a wide range of Mini PCs and NUCs designed to meet both personal and professional computing needs. This guide will walk you through the setup process, ensuring your device is ready for optimal performance.
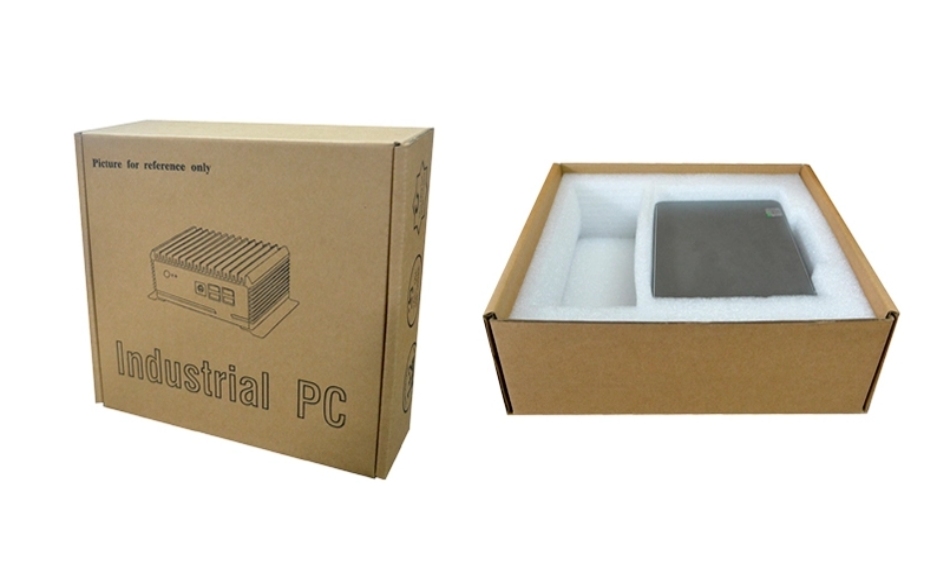
Step 1: Unboxing and Inspecting Your Device
Before starting, carefully unbox your Mini PC or NUC. Ensure that the package includes:
The Mini PC/NUC unit
Power adapter and cables
Screws and installation tools (if applicable)
User manual and warranty information
Check the device for any visible damage. If you notice any defects, contact YENTEK’s support team immediately for assistance.
Step 2: Installing RAM and Storage
Most Mini PCs and NUCs allow for easy upgrades or installation of memory (RAM) and storage:
Open the device by removing the bottom panel or access cover.
Insert the RAM modules into the designated slots, ensuring they click into place.
Install the storage drive (SSD or HDD) in its bay or M.2 slot.
Secure the panel back onto the unit.
Proper installation of RAM and storage ensures smooth operation and maximizes your device’s performance.

Step 3: Connecting Peripherals
Connect your Mini PC to essential peripherals:
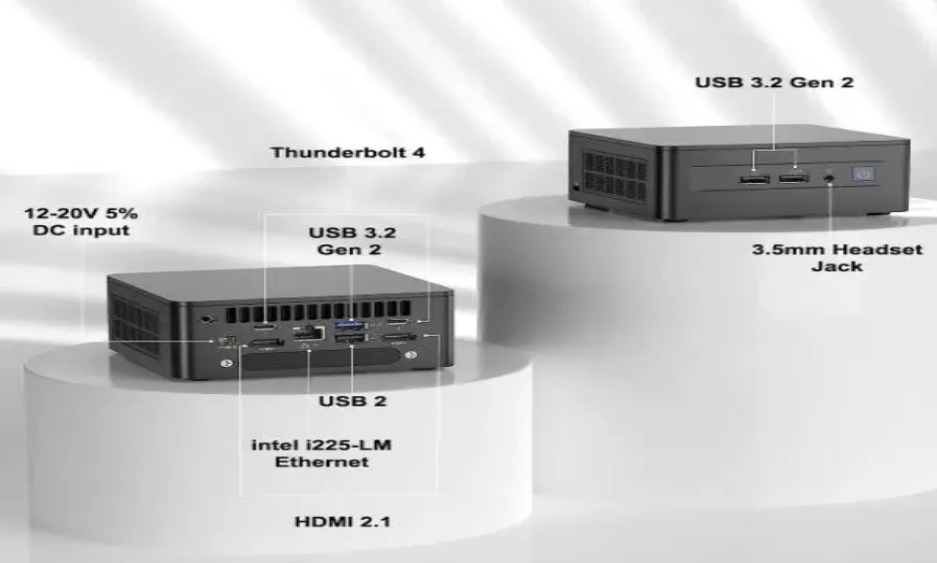
Monitor: Use HDMI, DisplayPort, or USB-C, depending on the model.
Keyboard and Mouse: Wired or wireless options are compatible.
Network: Connect to Wi-Fi or an Ethernet cable for internet access.
Optional Devices: Printers, external drives, or other USB peripherals.
YENTEK’s industrial Mini PCs often feature multiple ports to support complex setups, making them ideal for industrial automation and professional environments.
Step 4: Powering Up and BIOS Configuration
Plug in the power adapter and turn on the Mini PC.
Enter the BIOS/UEFI settings (usually by pressing F2, DEL, or a specified key during startup).
Check system information, configure boot priorities, and enable any required features like virtualization or secure boot.
This step ensures your hardware is recognized and configured for your intended use.

Step 5: Installing the Operating System
Depending on your device, you can install Windows, Linux, or other compatible operating systems:
Insert your bootable USB drive with the OS installer.
Follow on-screen instructions to partition the drive and install the OS.
Install all necessary drivers for graphics, network, and peripherals.
Update the OS to the latest version for security and performance improvements.
Step 6: Installing Applications and Configuring Settings
Once the operating system is ready, install the applications you need:
Office productivity software for workstations
Media players for entertainment setups
Industrial control software for specialized YENTEK Mini PCs
Security and antivirus programs
Adjust system settings such as display resolution, power management, and network configurations to suit your needs.

Step 7: Regular Maintenance
To ensure longevity and optimal performance:
Keep your Mini PC or NUC clean and dust-free.
Regularly update software and drivers.
Monitor system health and storage capacity.
For industrial deployments, schedule periodic system diagnostics.
Why Choose YENTEK Mini PCs and NUCs?
YENTEK combines innovation and reliability, providing Mini PCs and NUCs that are:
Compact yet powerful, suitable for home, office, and industrial applications
Energy-efficient, reducing operating costs
Highly versatile, with multiple connectivity options
Durable, designed for continuous operation in industrial environments
Supported by professional service, ensuring long-term assistance
With YENTEK’s products, users can enjoy high-performance computing without compromising space or efficiency.

Conclusion
Setting up a Mini PC or NUC doesn’t have to be complicated. By following these steps—unboxing, installing memory and storage, connecting peripherals, configuring BIOS, installing the OS, and maintaining your system—you can ensure a smooth, high-performance computing experience.
Whether you’re a home user, office professional, or industrial operator, YENTEK’s Mini PCs and NUCs provide reliable, efficient, and flexible solutions to meet all your computing needs. With the right setup and regular maintenance, your Mini PC will deliver years of seamless performance.
